How To Make $2,000 In Red Dead 2 Without Cheats Or Glitches
If you’re going to survive in Red Dead Redemption 2‘s world, you’re going to need cash. Previously we’ve highlighted several ways to earn money relatively quickly by working many of the game’s core systems and mechanics, but there exists a secret method that can give a significant bump to your wallet without much effort.
The method in question is none other than the Poisonous Trail treasure map side mission, which by its end rewards you with four gold bars that equate to about $2,000 when sold. As you explore, you’ll often find treasure maps that lead you to all manner of valuable items, but none are as lucrative as the Poisonous Trail maps, which you can complete early on. Of course, if you’re more into cheating the system, you can try out this newly discovered glitch that can net you 30 gold bars. But we all know that’s nowhere near as fun!
Below are directions leading you to all the treasure maps in the Poisonous Trail side mission. We’ve also included screenshots to aid you in your journey. It’s worth noting that you cannot simply head to the final location to cash in on the gold. You need to find every single treasure map first before the gold appears in its associated location.
If this guide was helpful to you, be sure to check out our features highlighting all the tips you should know before playing and things the game doesn’t tell you. We also have guides on more specific subjects, like top horse breeds and fishing. Though, if you want to have some extra fun instead, be sure to read our feature detailing the game’s cheat codes.
Treasure Map 1: Cairn Lake Cabin
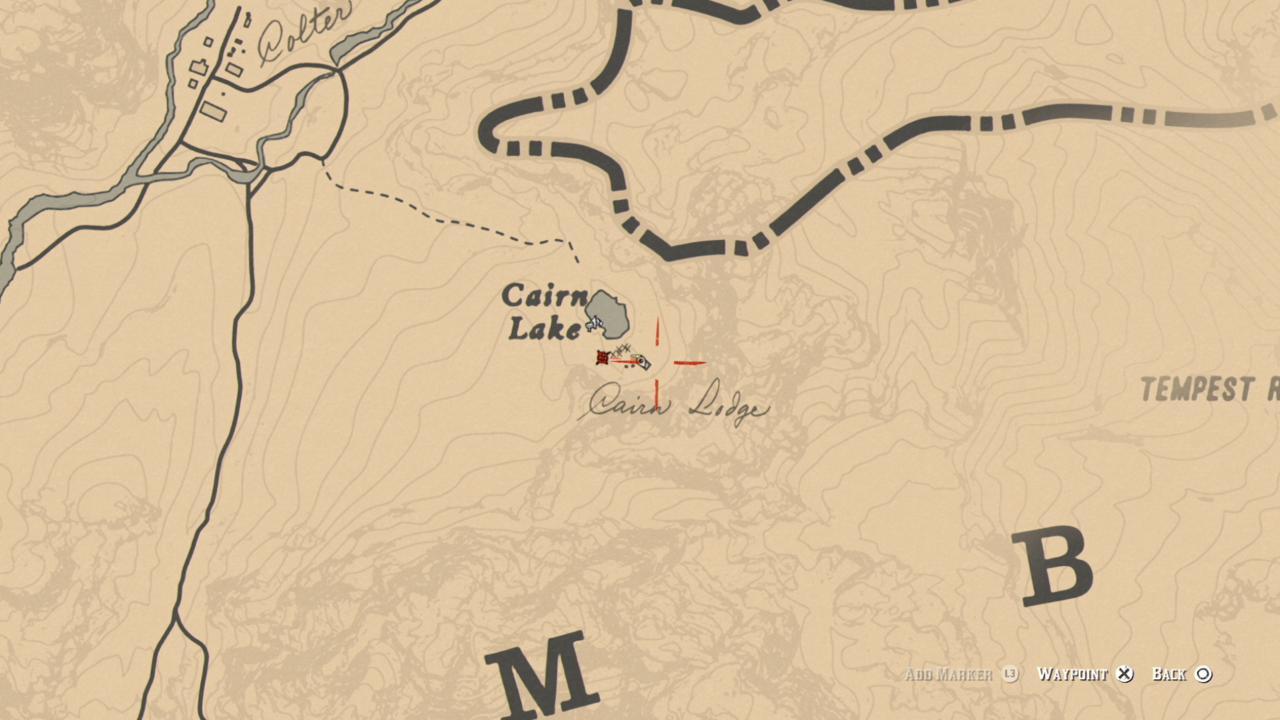
The first map is found at Cairn Lake, which is located north of Valentine up in the mountains. It’s snowy up there, so make sure to bring a thick jacket with you before heading up that direction. If you’ve triggered “The Noblest of Men, and a Woman” Stranger mission, you’ll notice that this is the exact location of legendary gunslinger Flaco Hernandez.
Once you make it to Cairn Lake, you should find a small abandoned cabin–the one that Hernandez is staying in. Approach the bed to the right and uncover the lock box underneath it, which holds the first treasure map along some extra valuables.
Treasure Map 2: Face Rock and an Unassuming Tree Trunk
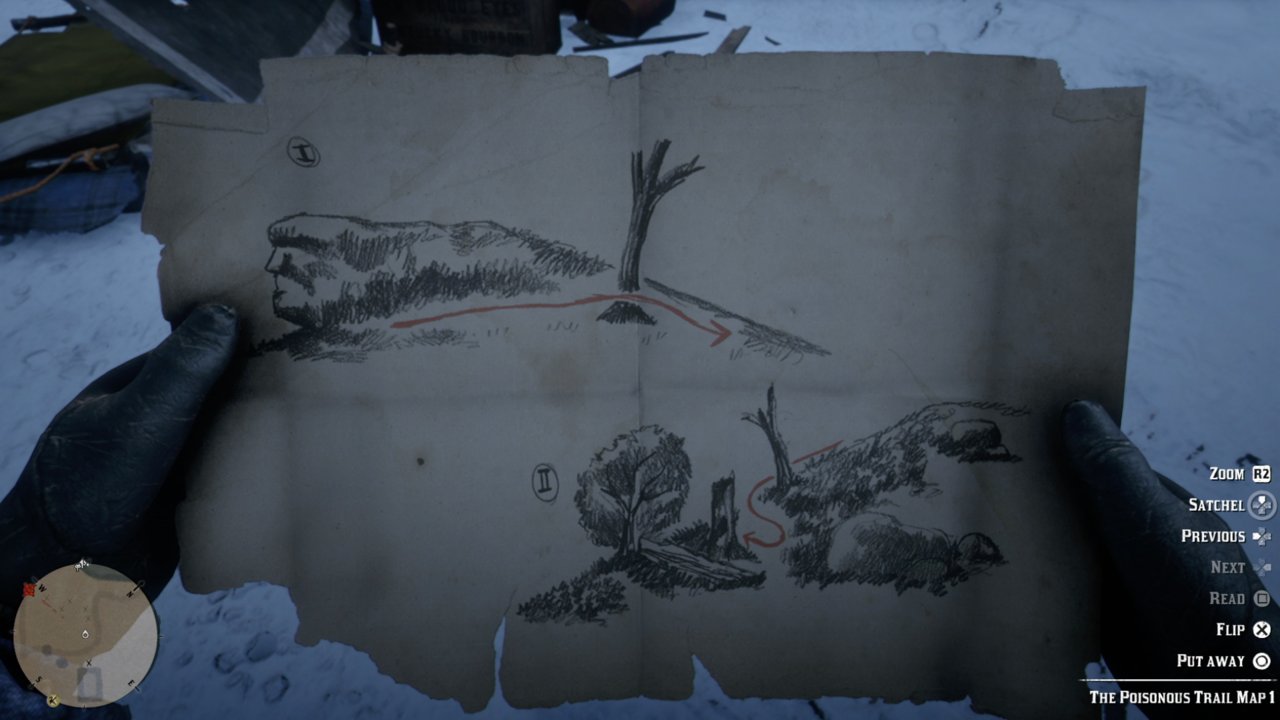
The first treasure map is attempting to clue you in on a location with a rock that seemingly resembles a face. If you haven’t spent much time exploring, this natural formation may seem a mystery to you. Fortunately, we know exactly where it is. Simply proceed down to the Lemoyne region, which is located just South of New Hanover. You can find the rock just north of the “E” in “Scarlett” on the map; check the screenshot in the gallery above for visual clarification.
You’ll spot Face Rock on a hill. To find the map, go past the tree directly next to Face Rock. You’ll want to run further back to the hill’s rear where there’s a thin tree trunk right beside a fallen tree. The map is located in this thin tree trunk.
Final Treasure Map: The Mysterious Snake Mound
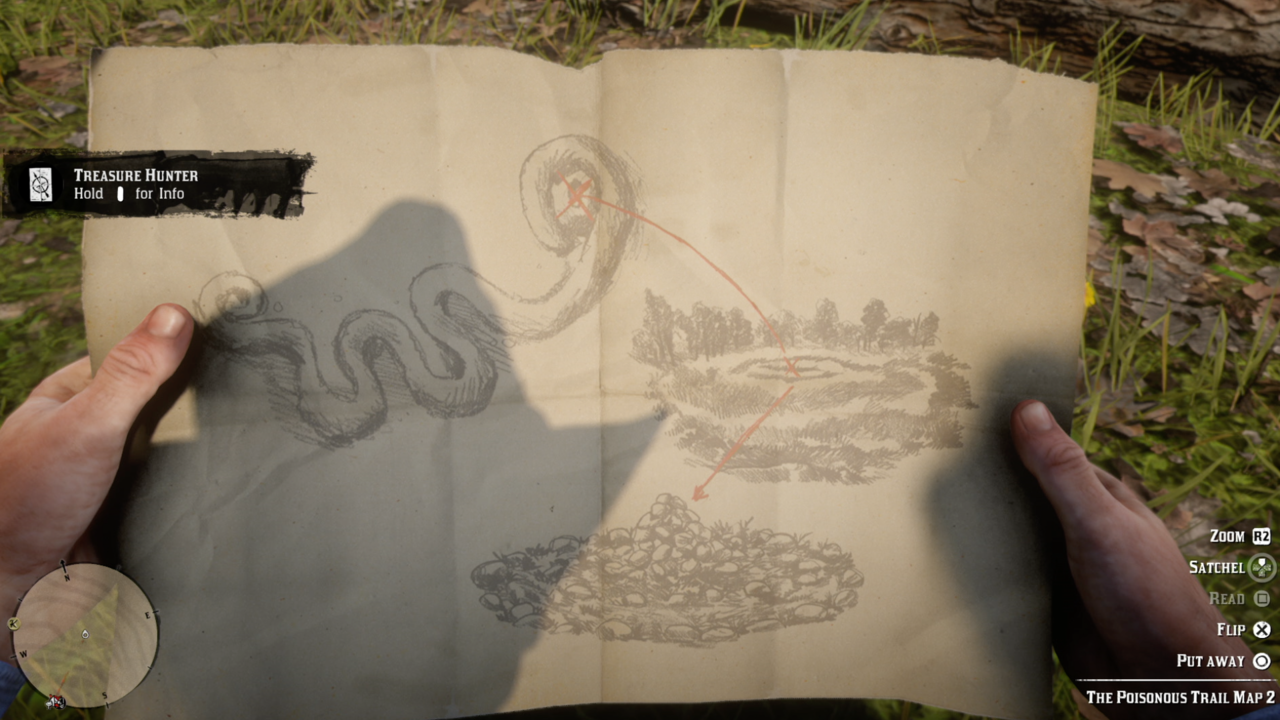
The second treasure map has you searching for a snake-like land formation. Yet again, an oddity that you’re likely to have missed if you haven’t spent significant time taking note of every curiosity out in the world. This bizarre mound is located southeast of Van Horn, a reasonable distance south of the “R” in “New Hanover” on the map.
As the treasure map indicates, you’re going to want to search for a pile of rocks near the snake-like mound. It’s pretty easy to spot as it’s literally just a clumped-up pile of rocks with a hole at the center. Search the hole to find the final treasure map. Onward to the treasure!
The Treasure: Gold! Gold! Gold!
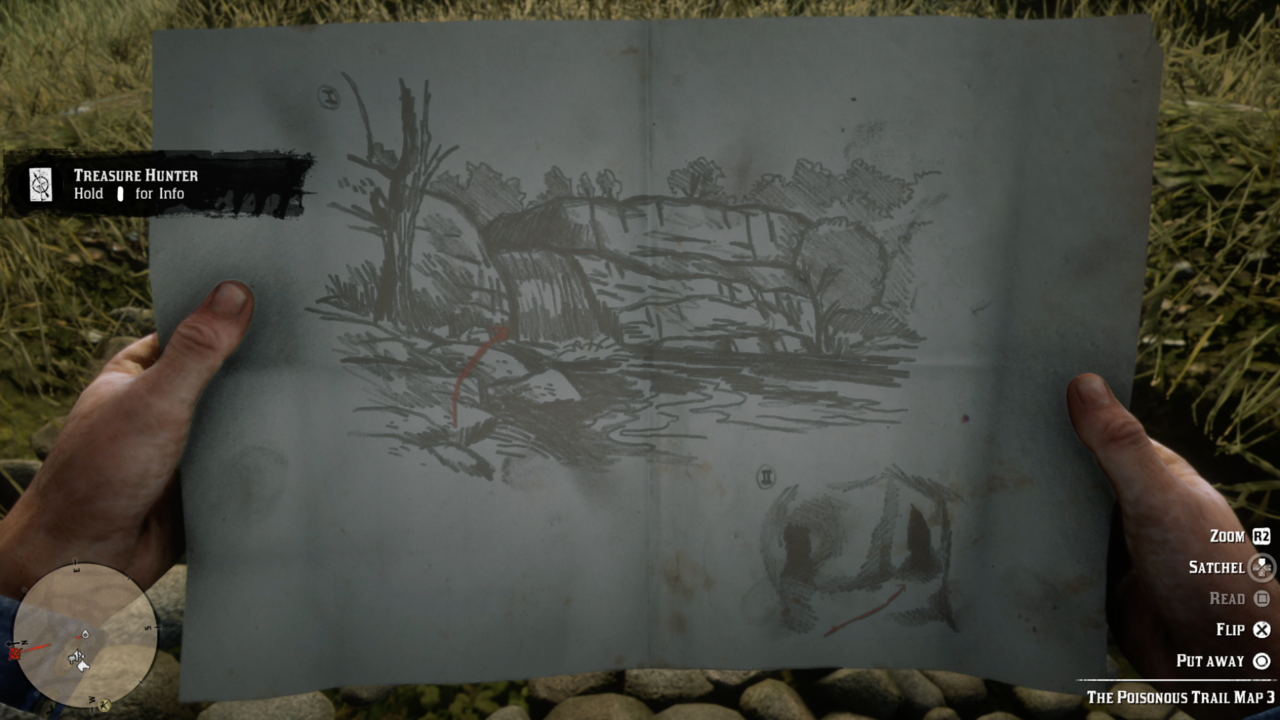
The final treasure map points to a waterfall and what appears to be a pathway in a cave. You’ll find this waterfall at the Elysian Pond, which is located directly northeast of the “E” in “Hanover” on the map. When you arrive, walk through the waterfall to discover the entrance of a hidden cave.
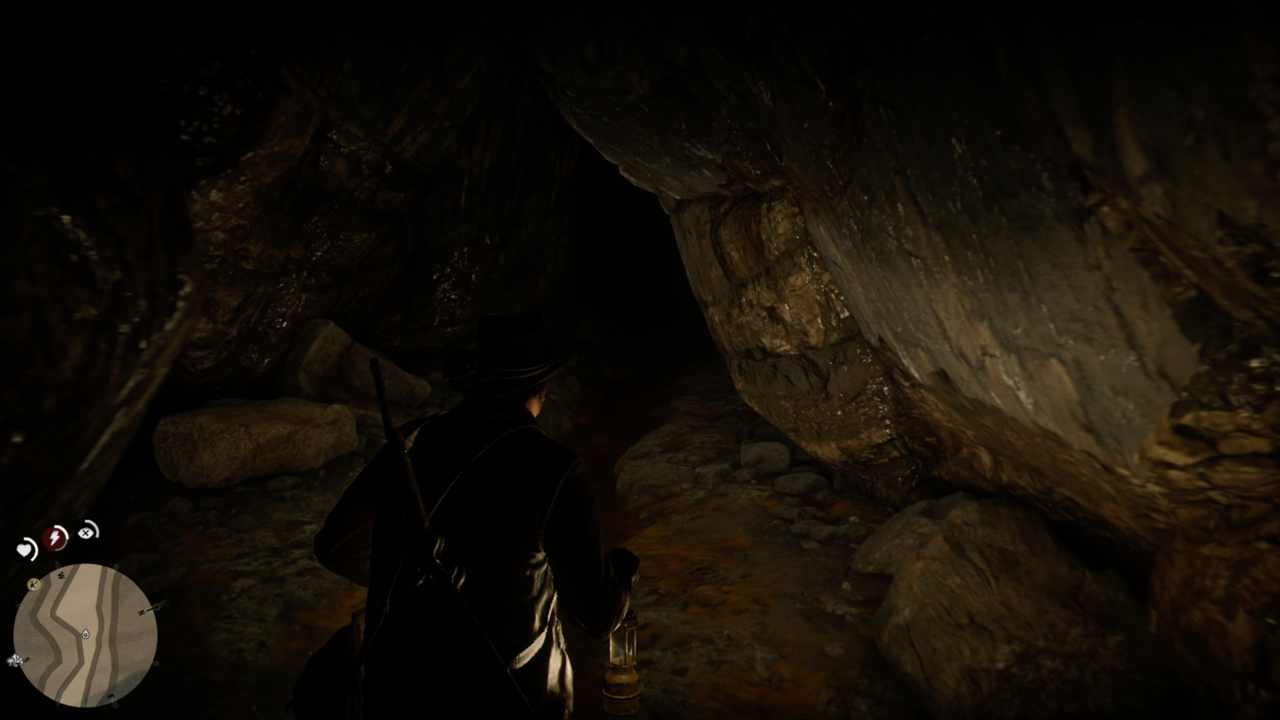
It’s dark in the cave, so bust out your lantern. Proceed through the cave until you find a section in the path where you can drop down. When you land, proceed through the crawl space on the right, which will lead you to the fork in the road pictured on the map. Take the right path, but before you do hug right to find a makeshift camp with a lockbox containing a Large Jewelry Bag.
Continue the path forward until you reach what appears to be a pit into certain doom. Instead of falling to your death, proceed left until you reach another edge. If you look closely, your lantern will illuminate some solid ground below that you can land on. But take a few steps back; you’re going to want a running start in order to make this jump. If you’re acrobatics are sufficient, head down the slope to the left. You’ll slip down into some water; once you gain your balance, look to your left for a rock platform to climb up. Search this area and you’ll be rewarded with four bars of gold.
If this is the first time you’ve obtained gold, know that you can sell them at Fences for direct profit. Though, if you’re feeling particularly generous, it’s possible to donate it directly to your camp.
Powered by WPeMatico


